After spending plenty of time provisioning VMs in Proxmox manually, I figured there must be a better way and finally looked into improving my methods. This of course led down a rabbit hole with a couple gotchas, and plenty of learning.
The Good Ol’ Days
Building a new VM is not something I do particularly often, and when I do, it’s simple enough to download the latest ISO, create a new VM in Proxmox, and navigate the prompts to set up the new OS. As with most software developers, this manual interaction bothered me, especially since I have the rest of the provisioning steps automated with Ansible. Why spend 5 minutes on a task you could spend 6 hours automating , right?
Template Automation
So how do you build a template for other VMs in Proxmox? You can turn an existing VM into a template, but I still wasn’t sure how to automate that process in a useful way.
I’ve used Packer before to build images for cloud platforms (mostly AWS AMIs or base images for DigitalOcean), and I was pleased to learn there is also a Proxmox builder . What was new for me was building an OS image from scratch. I’ve always built on top of the cloud provider’s representation of a base server image, whereas now I was trying to start from an installation menu.
Fortunately I am not the first person to try to solve this problem, and there are other examples out there. In particular, I found jacaudi’s Debian 11 example very well documented and informative. The main points I took away from this were:
- Use a preseed file to automatically answer the installer prompts.
- Packer can spin up an HTTP server which makes artifacts available to the installation process.
cloud-initcan be used to handle deploy-time differences between the template VM and whatever it’s used for.
Now it was time to implement them in my specific environment.
Automating Installer Prompts
The preseed file was straightforward to understand, even if the options are a
little opaque. I know just enough about Linux administration to be dangerous,
but between the Packer example and
Debian’s example
preseed.cfg
, I was able to put together a working
configuration.
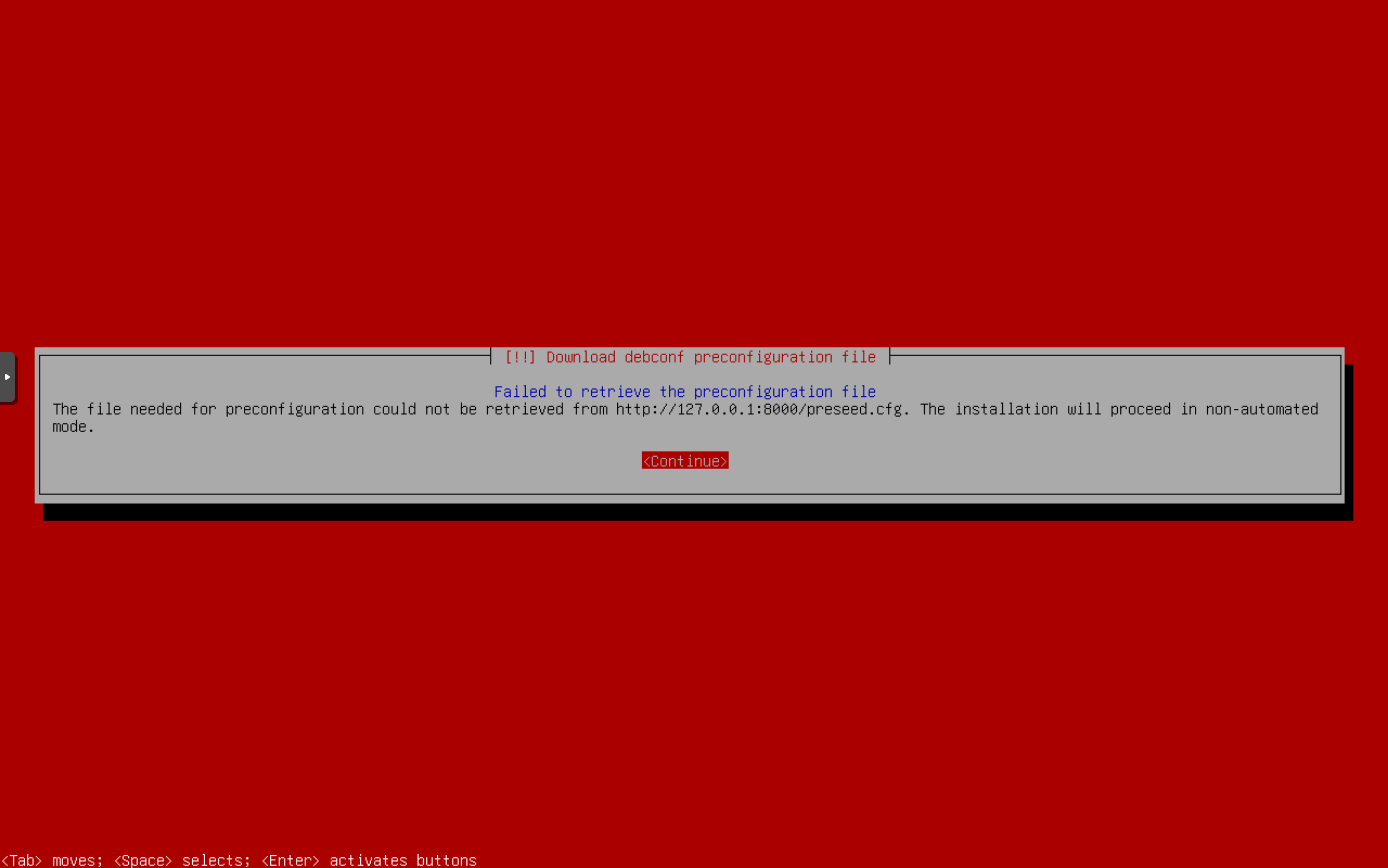
The next obstacle I faced was the installation process getting stuck. And there wasn’t a lot to go on.

Now I’ve encountered a lot of errors over the years, but this one stumped me at first. How do you get error logs for something that happens during the installation of an OS? Are the tools to debug this even available at that point in the installation? As I came to learn, the answer to this is certainly yes.
My first question was, “Is there a text log I can look at?” Of course there is.
Details are written to /var/log/syslog. The only question now was how to
access it. I’m used to interacting through something like an SSH session, but
obviously that is not possible at this point in time. What is possible is
switching to TTY 4 with Alt+F4 which is possible to send
through Proxmox’s default web VNC session1. This TTY defaults to
streaming the syslog while TTY 1 runs the installer TUI.
Aha! New information! The last couple lines of the syslog when the installer hung were something like:
Oct 15 01:32:14 depthcharge-tools-installer: Not installing to non-ChromeOS board.
Oct 15 01:32:14 main-menu[272]: INFO: Falling back to the package description for brltty-udeb
Oct 15 01:32:14 main-menu[272]: INFO: Menu item 'network-preseed' selected
As any good developer does, my first step was to Google the last couple
messages. Unfortunately I didn’t find anything that looked particularly relevant
to my situation, so I had to keep digging on my own. Based on the last message,
I figured there must be something in preseed.cfg that was either causing the
networking section to hang, or blocking whatever step came next.
After a couple attempts with changing preseed values and ensuring I was using a file compatible with Debian 12, I was no closer to resolving the issue. Still that same empty blue screen.
It’s a Hardware Problem
Alright, maybe I’ll try to recreate the issue outside of Packer. To simulate
Packer’s HTTP server, I used Python’s nifty python -m http.server to host
preseed.cfg, created a new Proxmox VM pointing to the Debian installer, and
kicked off the installation with:
auto url=http://<laptop IP>:<port>/preseed.cfg
As expected, the installer worked perfectly with no hangs. Wait what? So it turns out my preseed file wasn’t the problem after all? The mystery continues.
At this point I knew that the differing behavior had to do with how I was creating my manual test VM versus how Packer was setting up its VM. But after a couple rounds of tweaking Packer parameters so that the “Hardware” tabs of my manual VM and Packer’s were identical, I was still encountering the same hang.
It’s not a Hardware Problem
What could the difference possibly be? There had to be something. I eventually had the idea to monitor the log of my test VM to see what the next messages were after the step that was hanging for the Packer build. It turns out this is when the preseed file is actually loaded over the network. All the preceeding steps are default behavior for the “netinst” variant of the Debian installer. During the next Packer boot, I finally saw the issue. Packer is configured to run the boot command:
<esc><wait>auto url=http://{{ .HTTPIP }}:{{ .HTTPPort }}/preseed.cfg<enter>
This means that once the VM is booted and at the installer menu, Packer will simulate pressing Esc, then give the command to install based on the preseed file hosted by Packer’s built in HTTP server. As I watched the VNC terminal while Packer tried to execute this, I noticed the install command looked like:
auto url=http://172.17.0.2:8100/preseed.cfg
Well that’s strange. My network is running in the 192.168.1.0/24 block. That can’t be right.
Now it all made sense. The message about “network-preseed” selected wasn’t referring to the network configuration in the preseed file. It was saying the next step is to load the preseed file over the network. Something about hindsight and 20/20.
So how did this happen? Well, I typically develop in VS Code using devcontainers. This allows me to easily use whatever wacky tools I want for a particular project without having to install them on my base system. VS Code will handle spinning up the project’s container, and everything will Just Work. Mostly.
The problem with the Packer HTTP server in this scenario is two-fold. First,
Packer had no way to determine what the host’s IP was since the only IP
available in the container was from the 172.17.0.0/16 space the container engine
was using, so the IP it provides to the build VM would always be unresolvable.
Second, even if the IP was correct, the web server wouldn’t be accessible
outside the host machine since VS Code defaults to forwarding for the local
machine only, eg binding to 127.0.0.1:1234 instead of 0.0.0.0:1234.
Resolution
Switching my devcontainer to use host networking instead of the default isolation worked around that problem perfectly.
I’m still not quite sure why the installer hung instead of showing an error. Normally if you give an obviously wrong URL to load, the installer will error out.
Even with Packer set to time out after 20 minutes, the installer was perfectly happy to try to fetch from 172.2.0.0/16 forever.
Cloud Init
The only remaining hurdle was to clean up the cloud-init config I had copied
to adapt to a couple new breaking changes and deprecations that had been
introduced since the original configuration was written. Once that was resolved,
I had a fully working VM template ready to go.
Benefits
So what can I do now with my new automated template creation? Was it worth it?
In addition to the satisfying debugging journey and the knowledge I gained, I also get the benefits that automating your infrastructure always brings: reproduceability, and better documentation. No longer will I get slightly different VMs because I forgot if I answered yes or no to a prompt
While reproduceability is nice, it doesn’t change my existing process like
having cloud-init does. My previous workflow was to create a VM with a known
root password, then rely on an Ansible playbook to “harden” the VM by
changing/disabling the root password. This created a time period where the VM
was insecure, and adds time to every Ansible run. With cloud-init, I can
specify an SSH key at creation time, and the VM will be locked down from the
start.
All these benefits together make it easier to experiment, which is the whole point of a homelab. Instead of rolling back changes at the package or file level, I can recreate the VM in a matter of seconds.
This was not a project I expected to take an entire long weekend, but I’m glad I did it.
-
Yes, really. Alt+F4. I’m not just trying to kill your browser window, although depending on how your interacting with your VNC terminal, the process for sending that specific key combo may vary. ↩︎